How to Prepare a Passport Photo at Home
Follow a careful workflow for lighting, framing, background and print layout before submitting a passport photo.
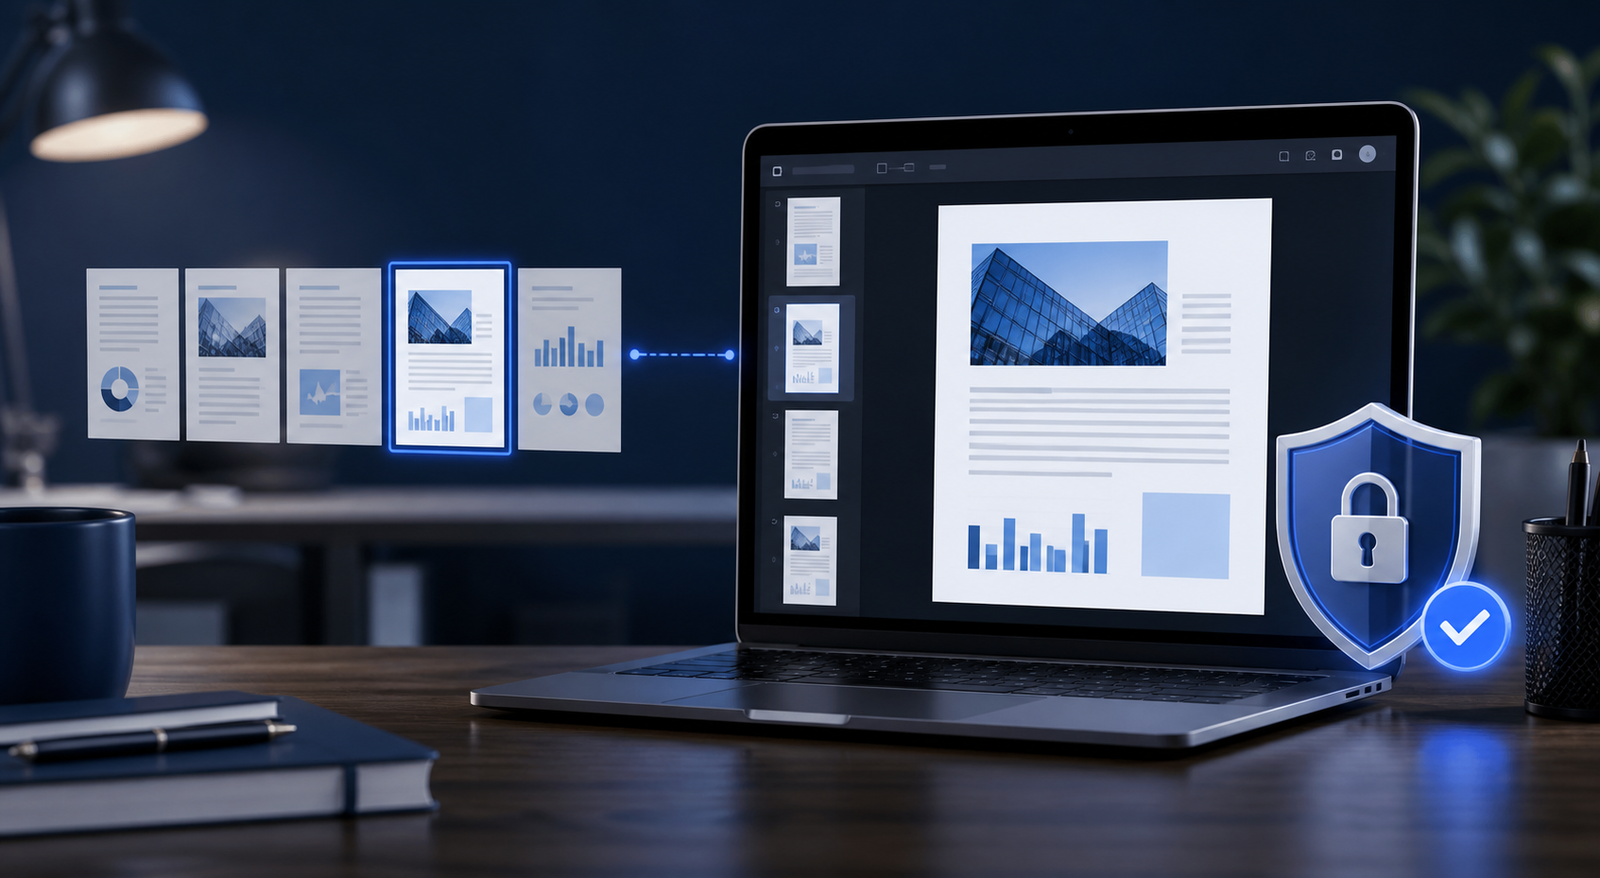
Preparing a passport photo at home can save time, but official photographs have strict requirements. A convenient online tool can help with sizing and sheet layout; it cannot decide whether a photograph will be accepted. Always compare your result with the latest instructions from the authority receiving your application.
Begin with even lighting
Stand in front of a plain, light-colored background and face a window or another soft light source. Avoid harsh overhead lights that create deep shadows under the eyes or chin. The face should be evenly visible, with natural skin tones and no beauty filters.
Keep the camera level
Place the camera near eye level and leave space around the head and shoulders. Look directly at the camera with a neutral expression. Ask another person to take the picture when possible, because a selfie taken from a short distance can distort facial proportions.
Check clothing and accessories
Choose clothing that contrasts with the background. Requirements for glasses, head coverings, uniforms and jewelry vary, so verify the rules that apply to your document and country before taking the photograph.
Create the print sheet
Once the source photograph is ready, use the Passport Photo service to crop it and arrange multiple copies on a printable sheet. Print at the required physical dimensions without enabling a printer setting that automatically stretches or shrinks the page.
Review before submission
Confirm that the final print is sharp, recent and undamaged. A photo may still be rejected if it does not match official biometric, size or background rules. Keep the original photograph and create a new version if the requirements change.